Hi there! I’ve been working in an App that requires to take a picture from the app or pick it from the gallery. And here’s what I learned about it. There are many ways to take a photo using the camera. This time we’re going to use the ImagePicker plugin.
Let’s start with the dependencies.
As the first step, we need to add new plugins to our dependencies. In our pubspec.yaml we’re going to add the next plugins:
- Camera which helps us to work with the device’s cameras.
- path_provider gives us the correct path to store images in our devices.
- image_picker helps us with the photo selected from the gallery.
After we add it to our pubspec.yaml, it’s going to look like this.
name: fluttercamera
description: A Flutter project that takes a picture and shows the preview.
version: 1.0.0+1

environment:
  sdk: ">=2.1.0 <3.0.0"

dependencies:
  flutter:
    sdk: flutter
  camera:
  path_provider:
  path:
  image_picker:

  cupertino_icons: ^0.1.2

dev_dependencies:
  flutter_test:
    sdk: flutter

flutter:

  uses-material-design: true
Adding a min Android SDK.
The Flutter camera plugin only works with an sdk 21 or higher in Android. So we need to open our build.gradle file located at android/app/build.gradle and search for the line minSdkVersion. Lastly, we need to upgrade our min sdk version from 16 to 21. If you don’t know anything about android development, this made the app available only from Android OS Lollipop or later.
This is how it should look like after doing that change.

Let’s create our first screen!
Let’s create our PhotoPreviewScreen, which is a StatefulWidget. In the beginning, it should look like this.
class PhotoPreviewScreen extends StatefulWidget {
  @override
  _PhotoPreviewScreenState createState() => _PhotoPreviewScreenState();
}

class _PhotoPreviewScreenState extends State<PhotoPreviewScreen> {
  @override
  Widget build(BuildContext context) {
    return Scaffold(

    );
  }
}
Now we’re going to create a Scaffold with a centered column that is going to show our image preview after we pick it from the gallery or take a picture from the camera. As of the last step, we’re going to add a floatingActionButton, which is going to show the selection dialog.
class PhotoPreviewScreen extends StatefulWidget {
  @override
  _PhotoPreviewScreenState createState() => _PhotoPreviewScreenState();
}

class _PhotoPreviewScreenState extends State<PhotoPreviewScreen> {
  @override
  Widget build(BuildContext context) {
    return Scaffold(
      body: Center(
        child: Column(
          mainAxisAlignment: MainAxisAlignment.center,
          children: <Widget>[
            _setImageView()
          ],
        ),
      ),
      floatingActionButton: FloatingActionButton(
        onPressed: () {
          _showSelectionDialog(context);
        },
        child: Icon(Icons.camera_alt),
      ),
    );
  }
Great! Now you’re probably asking what the _setImageView() and the _showSelectionDialog(context) do. The _setImageView() is a method that returns a Widget in case the Image we pick from the gallery or take from the camera is null. We’re returning a Text Widget that has the following text “Please select a picture.”
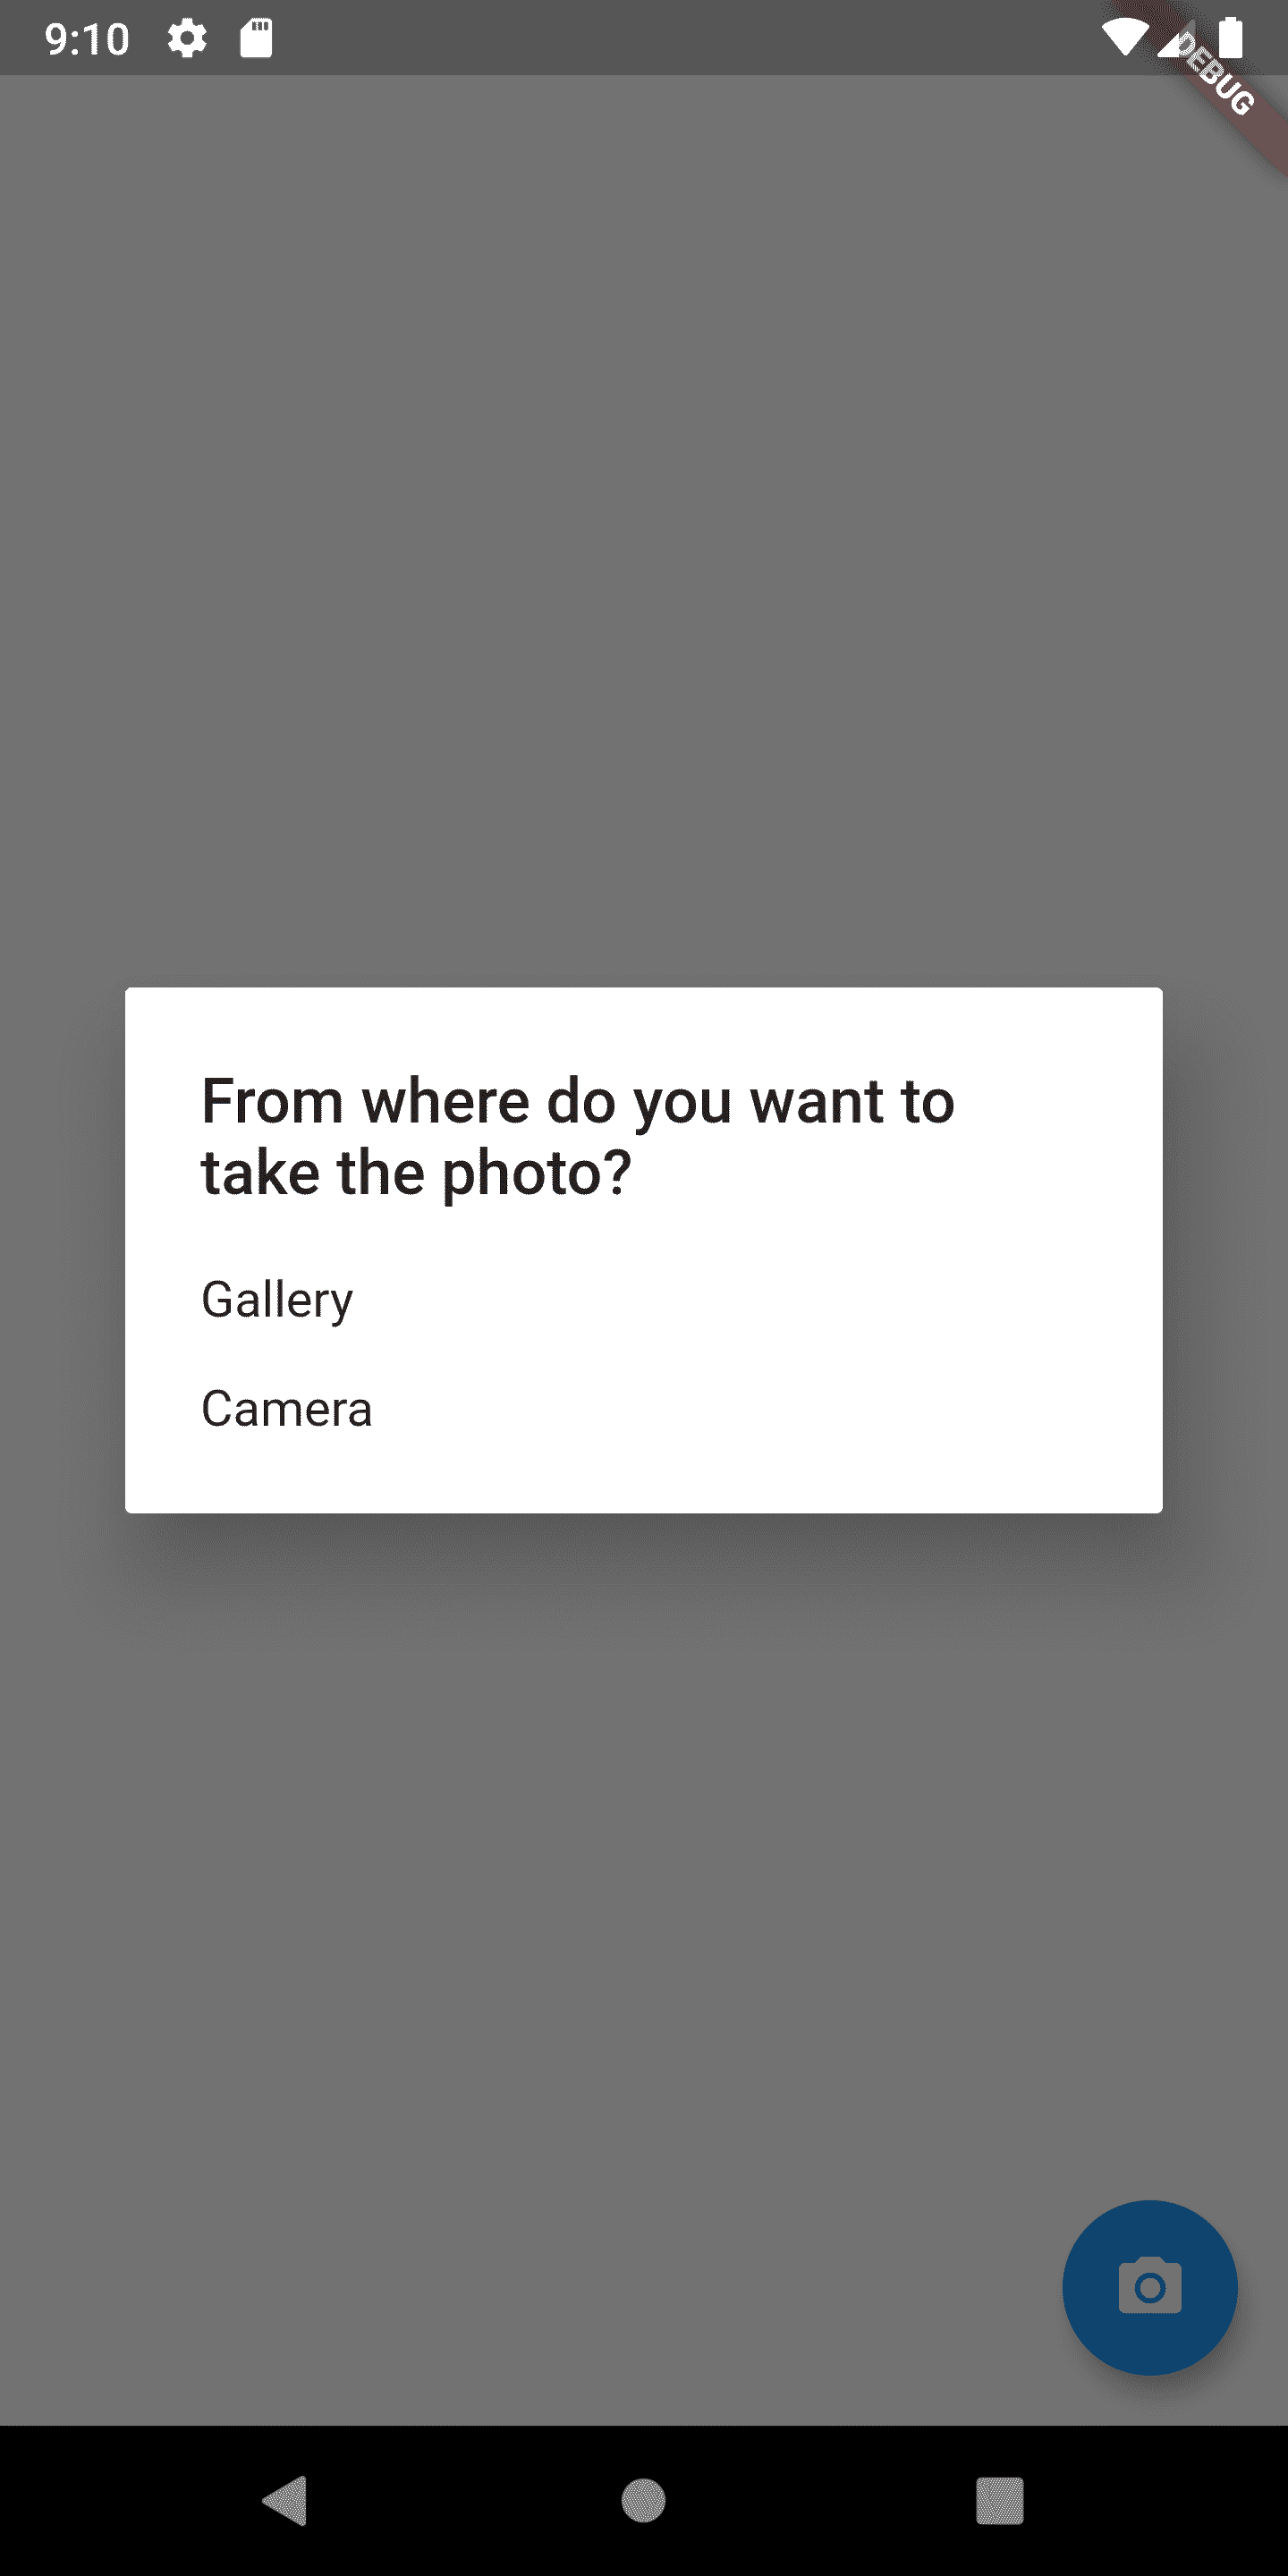
The_showSelectionDialog(context) is going to show a dialog with two options, take an image from the gallery or the camera. Let’s start creating this one. This method should use the function showDialog() and pass to it the context and a builder who is going to create an AlertDialog with a title and two options.
In the AlertDialog constructor, we’re going to pass as content a SingleChildScrollView which is a Widget that helps us to scroll the list, as a child of this Widget we’re going to pass a ListBody with two children, those children must be a GestureDetector to detect when the user touches the text.
Each GestureDetector child is going to be a Text Widget with the “Gallery” text and “Camera” text, respectively, and each onTap() method is going to be _openGallery() and _openCamera(). Methods that we’re going to create in a while. Your _showSelectionDialog(context) should look like this.
Future<void> _showSelectionDialog(BuildContext context) {
    return showDialog(
        context: context,
        builder: (BuildContext context) {
          return AlertDialog(
              title: Text("From where do you want to take the photo?"),
              content: SingleChildScrollView(
                child: ListBody(
                  children: <Widget>[
                    GestureDetector(
                      child: Text("Gallery"),
                      onTap: () {
                        _openGallery(context);
                      },
                    ),
                    Padding(padding: EdgeInsets.all(8.0)),
                    GestureDetector(
                      child: Text("Camera"),
                      onTap: () {
                        _openCamera(context);
                      },
                    )
                  ],
                ),
              ));
        });
  }
Now your app should show a Dialog like this one.
Let’s use that plugin.
Now let’s add the logic to our _openGallery(context) method. What we’re going to do first is create a field called imageFile, which is going to be a File object in our _LandingScreenState class. After creating that, we’re going to use the ImagePicker function ImagePicker.pickImage() passing to it the enumImageSource.gallery This function is asynchronous, so we’re going to add the reserved keywords async and await, later we’re going to save that variable and assign it to our property. As our last step, we’re going to call the setState() method to notify that the state has changed.
The function _openGallery(context) should look like this.
void _openGallery(BuildContext context) async {
    var picture = await ImagePicker.pickImage(source: ImageSource.gallery);
    this.setState(() {
      imageFile = picture;
    });
    Navigator.of(context).pop();
  }
The _openCamera(context) function it’s almost the same. The only thing we need to change is the source, instead of ImageSource.gallery we’re going to use ImageSource.camera. This simplicity is what I most liked from this plugin, that was so simple.
Showing the preview
Remember the _setImageView() that was at the beginning? Well, we’re going to verify that the field imageField is not null to return an Image Widget. If the image field is null, we’re going to return a Text Widget.
This is the result.
Widget _setImageView() {
    if (imageFile != null) {
      return Image.file(imageFile, width: 500, height: 500);
    } else {
      return Text("Please select an image");
    }
  }
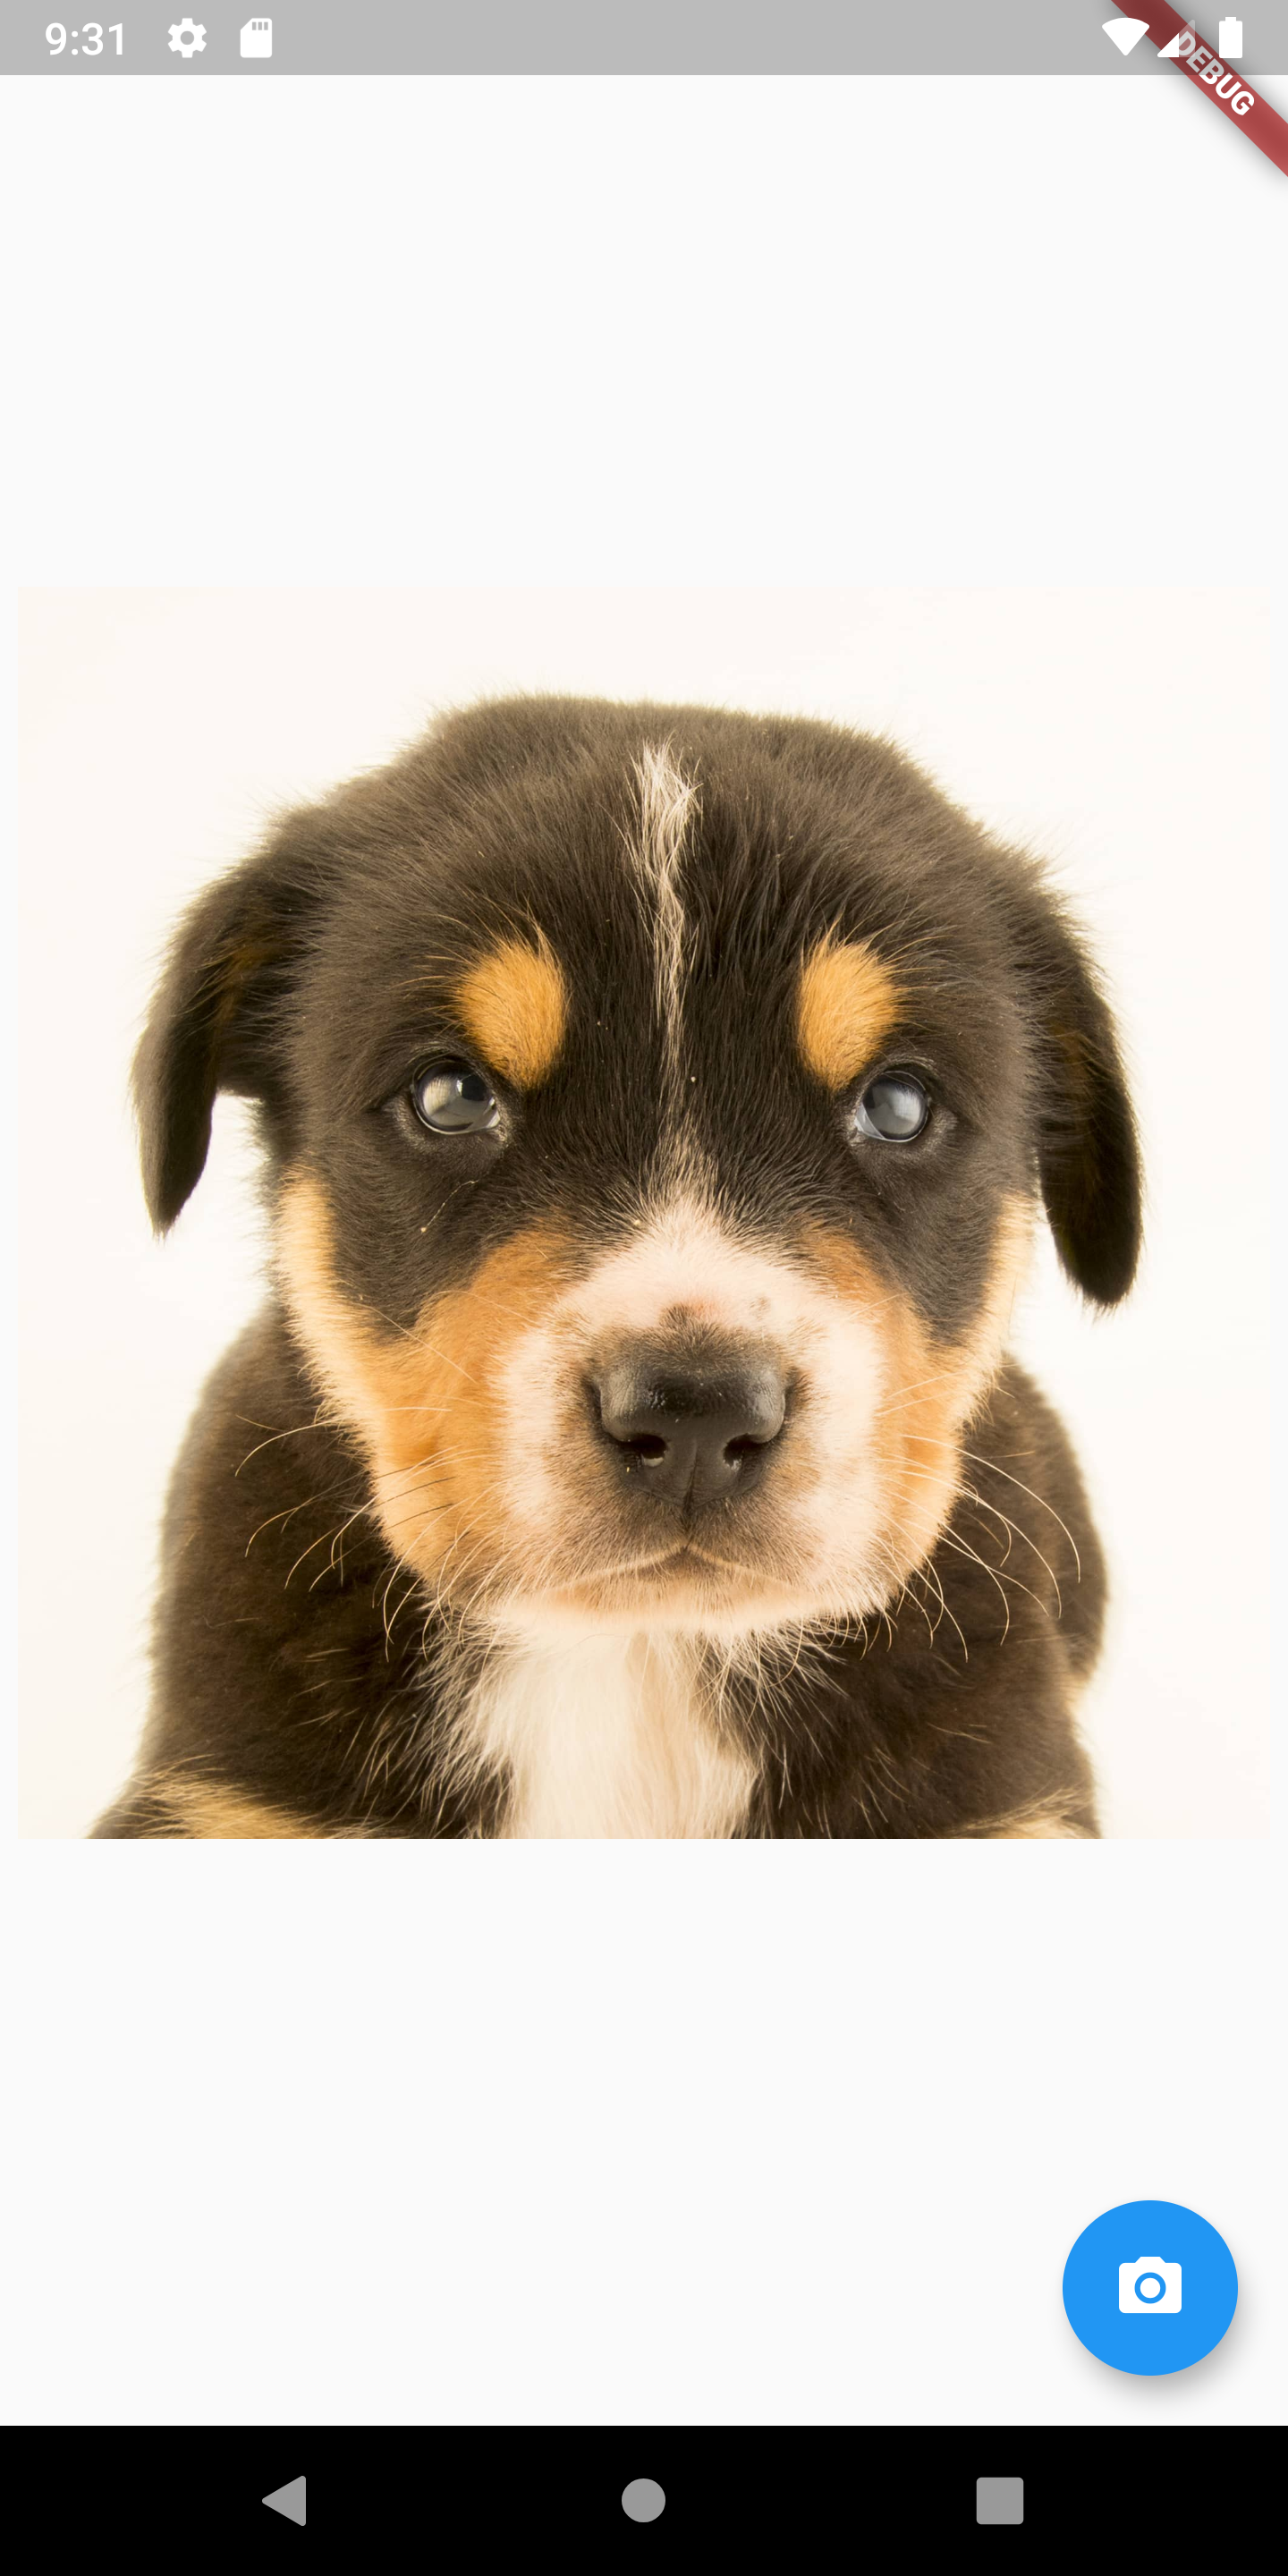
This is how your app should look after you select a image from the gallery.
That’s it
I hope you liked it! If you’re interested in more Flutter/Dart articles, you can follow me on social and say hello!.




In that case you are not obliged to import the camera package and only image picker is sufficient
Thanks for the feedback!